In this guide, we will be walking you through how to setup WHM (Web Host Manager) and LiteSpeed, a high-performance Apache drop-in replacement. WHM provides you with a powerful reseller management tool, while LiteSpeed offers increased speed, performance, and security for your website. Here’s how to get started.
Part 1: Setting Up WHM
Web Host Manager (WHM) is an essential tool that gives you administrative access to the back end of cPanel. Here’s how to set it up:
Step 1: Purchase and Set up a VPS or Dedicated Server
- Purchase a Virtual Private Server (VPS) or a dedicated server from a trusted hosting provider.
- Upon purchase, your hosting provider will provide you with the IP address, username, and password for your server.
Step 2: Access Your Server
- Access your server using a Secure Shell (SSH) client (like PuTTY for Windows, or the Terminal app for MacOS and Linux).
- Enter the server’s IP address, and when prompted, provide the username and password given to you by your hosting provider.
Step 3: Install cPanel & WHM
- Once you’re logged into your server, install cPanel & WHM by typing the following commands:
# yum update -y
# cd /home
# curl -o latest -L https://securedownloads.cpanel.net/latest
# sh latest
- The installation process will start, and it might take some time to finish.
- Once the installation is complete, you can access WHM by opening a web browser and navigating to https://your_server_IP:2087
Step 4: Configure WHM
- On your first login, you’ll be presented with the WHM setup wizard. Follow the on-screen instructions to configure your server and set up your hosting packages.
- After you’ve set up your server, you’ll be able to create individual accounts for each website you’re hosting, each with its own cPanel.
Part 2: Setting Up LiteSpeed
Now that you have WHM and cPanel installed, the next step is to install LiteSpeed. This is a more efficient server solution compared to Apache and can significantly increase the speed and performance of your websites.
Step 1: Access Your Server
- Log in to your server via SSH as you did when installing WHM.
Step 2: Install LiteSpeed
- Type the following command to download the LiteSpeed installation script:
# wget https://www.litespeedtech.com/packages/cpanel/lsws_whm_autoinstaller.sh
- Now, make the script executable and run it:
# chmod +x lsws_whm_autoinstaller.sh

# sh lsws_whm_autoinstaller.sh
- Follow the on-screen instructions to complete the installation.
Step 3: Configure LiteSpeed
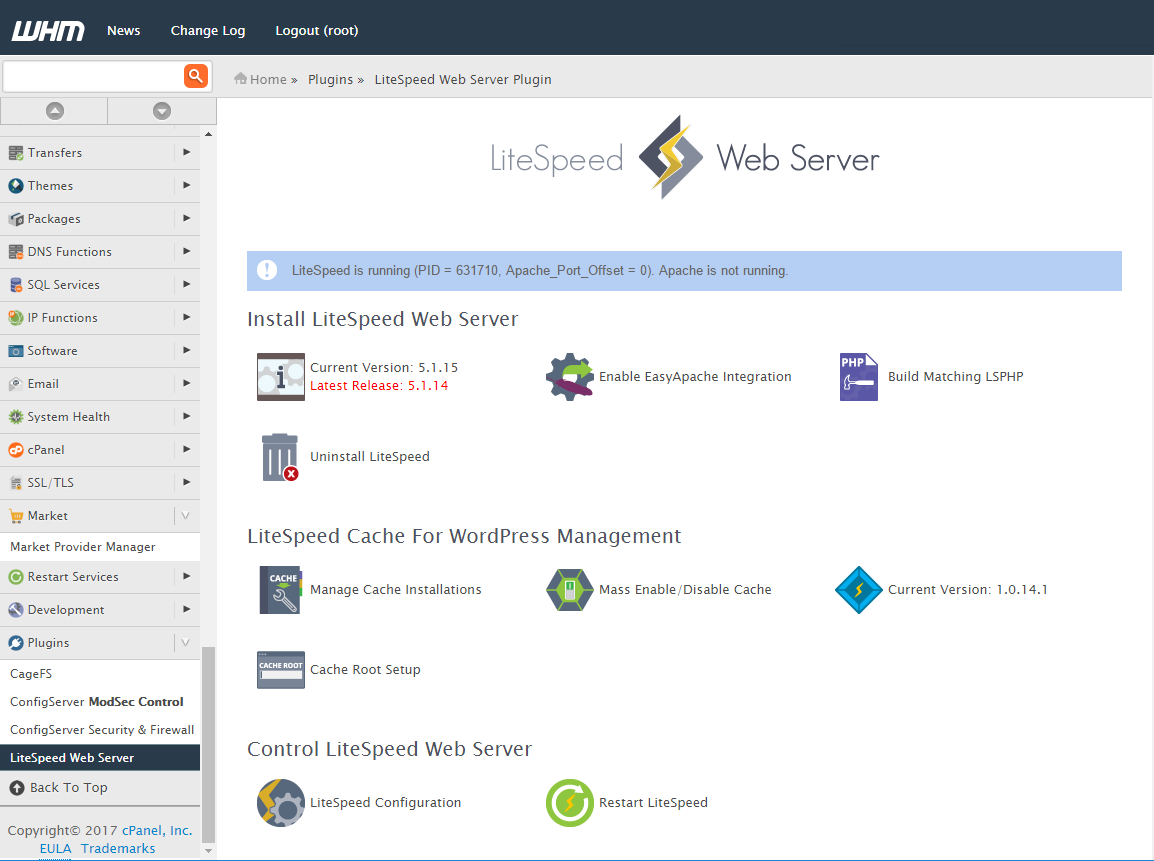
- After the installation, you can manage LiteSpeed through WHM. Log in to WHM, and you will see a ‘LiteSpeed Web Server’ section in the ‘Plugins’ area.
- You can adjust LiteSpeed settings here, such as enabling LSCache or adjusting the server’s performance settings.
Summary
By following the steps above, you should have successfully set up WHM and LiteSpeed on your server. Your websites are now ready to benefit from the advanced features and superior speed offered by these platforms. Keep in mind, WHM and LiteSpeed both offer a lot of customization options and features, so it’s worth exploring these in more detail to get the most out of your server.

Talha Aslam is a Business Developer and author at REDLUMB. With years of experience in the IT industry, Talha has a proven track record of driving business growth and developing innovative solutions for clients worldwide. As an avid writer and industry expert, Talha authors insightful blogs on IT services, digital transformation, and emerging technologies.